The unsung hero of your bathroom and kitchen? Caulk.
That flexible little bead around your tub or sink does more than just look tidy. It helps seal out water and prevent mold, mildew, and long-term damage.
This month’s FixIt Files is all about inspecting, removing, and reapplying caulk to keep your bathroom or kitchen watertight and looking fresh.
Step 1: Check for Cracks, Gaps, or Mold
Take a close look around your:
- Bathtub edges
- Shower corners
- Bathroom sinks
- Kitchen backsplashes
If you see peeling, cracking, discoloration, or moldy spots that won’t clean off, it’s time to replace that caulk. Also, check for signs of water damage nearby: warped wood, soft drywall, or moldy smells may mean moisture is already seeping through.
What You’ll Need:
- Caulk remover tool or utility knife
- Masking tape (for clean lines)
- Caulking gun
- 100% silicone caulk (labeled for “kitchen & bath” or “mold/mildew resistant”)
- Rags or paper towels
- Mild cleaner and water
- Gloves (optional but helpful!)
Step 2: Remove Old Caulk
Use a caulk remover tool or a utility knife to carefully scrape out the old bead. Go slowly to avoid scratching tile or damaging surfaces.
Wipe the area clean with a mild cleaner, then let it dry completely before applying new caulk (moisture = failure).
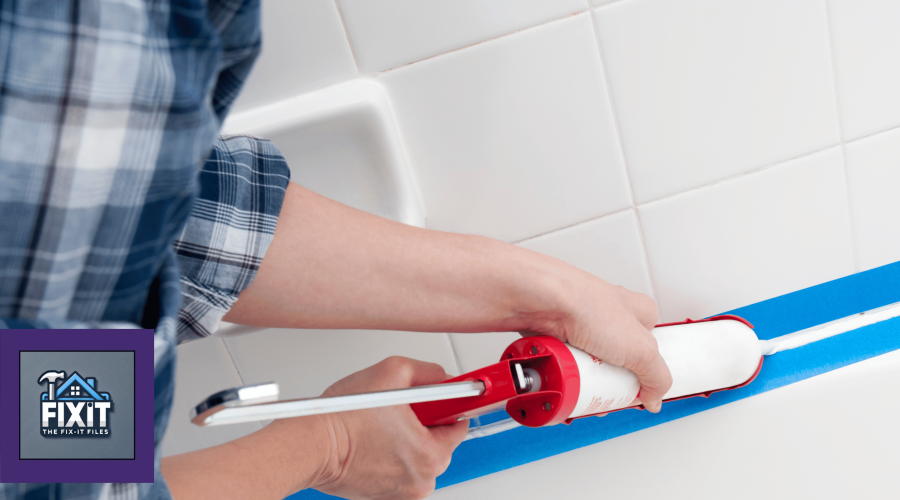
Step 3: Apply New Caulk
- Apply masking tape above and below the seam to keep things neat.
- Load your caulking gun with a tube of 100% silicone caulk (avoid latex—it doesn’t last in wet areas).
- Squeeze a steady, smooth bead of caulk along the seam.
- Wet your finger or use a caulking tool to smooth it out.
- Remove the tape immediately, then let the caulk cure at least 24 hours before getting it wet.
When to Call a Pro
- If you’re seeing repeated mold, discoloration, or soft walls around the tub
- If there’s visible water damage to floors, cabinets, or drywall
- If caulking isn’t sticking or there’s movement in tiles or the tub
It might be time to call in a handyman or contractor to take a deeper look—because what’s behind the wall matters too.
At DreamMaker Bath & Kitchen of the Pikes Peak Region, we know the signs and solutions for moisture trouble—and how to fix them beautifully.
