Ever tried opening a door with full hands, like a grocery bag in one arm and your toddler in the other? You end up doing this awkward elbow-twist-shoulder-bump move that looks like bad interpretive dance. If that sounds familiar, it might be time to say goodbye to those old-school round doorknobs and upgrade to lever handles.
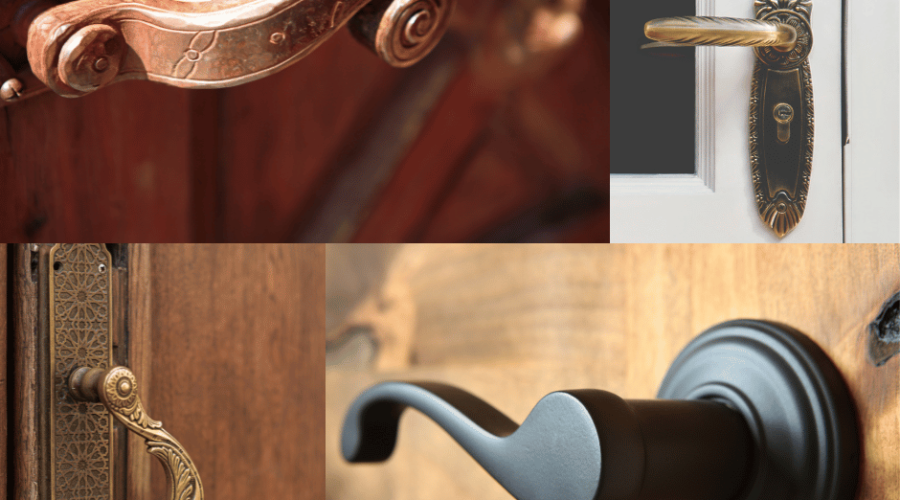
Lever handles are a small change that makes a big difference—especially for anyone with arthritis, mobility challenges, or just plain busy hands. They’re easier to grab, easier to push down, and honestly just feel way more modern. Plus, they look sharp!
The swap is super DIY-friendly. Most lever handles are designed to fit the same holes as your existing knobs. Just unscrew the old hardware, pop in the new handle, make sure it’s facing the right direction (nobody likes an upside-down lever), and boom—instant upgrade.
What You’ll Need:
-
Phillips screwdriver
-
New lever-style door handle (make sure it matches your door’s thickness and handing)
-
Optional: flathead screwdriver, measuring tape, or drill
🛠 Step-by-Step Instructions:
1. Remove the old knob
Start by unscrewing the two screws on the interior side of the knob (usually hidden behind a cover plate or located on the face). Once the screws are out, the knob will come apart from both sides of the door.
2. Take out the latch
With the knobs off, unscrew the latch plate on the edge of the door and slide the latch mechanism out. Easy peasy.
3. Check the fit
Make sure your new lever handle fits the existing holes. Most modern handles are designed to work with standard door prep (typically a 2-3/8″ or 2-3/4″ backset and a 2-1/8″ face bore). If not, you may need to adjust the hole size or latch positioning—but in most cases, you’re good to go!
4. Install the new latch
Insert the new latch mechanism into the side of the door, making sure the beveled side faces the direction the door closes. Screw it into place using the provided screws.
5. Attach the lever handle
Align the exterior and interior handles with the holes, making sure any spindle or bar fits through the latch mechanism. Secure them together using the included screws.
📝 Tip: Some lever handles are “handed,” meaning they’re made specifically for left- or right-swing doors. Many models are reversible—check the instructions to flip the lever if needed.
6. Test it out
Before tightening everything down completely, give it a test—open, close, lock (if applicable). Make sure everything moves smoothly and the latch engages properly.
7. Secure and admire your work
Tighten up all screws, wipe down any fingerprints, and give yourself a high five. Your door is now easier to use and looking fresh!
👌 Pro Tips:
-
Lever handles are great for aging-in-place design—consider using them throughout your home.
-
Want a uniform look? Choose a finish and style that complements your other hardware (think: hinges, cabinet pulls, etc.).
-
Not sure which direction your door swings? Stand facing the door on the side that opens toward you. If the hinges are on your right, it’s a right-hand door. Hinges on your left = left-hand door.
Top Picks We Love:
- Schlage Latitude Lever – sleek, classy, and smooth as butter
- Kwikset Halifax Lever – great for a modern vibe and super comfy to use
Want help picking the right style for your space? DreamMaker’s got your back—we’re just a phone call away.
